Monday, November 21, 2011

Art Visuals Finals (part 1)

After choosing my 3 pre-finalized designs, I used Adobe Photoshop CS5 to edit them.

My chosen art movement is Art Nouveau and Gustav Klimt is my inspired artist. With my 3 sketches I tried to incorporate the styles in Art Nouveau which mainly consist of flat, decorative patterns and intertwined organic forms of stems or flowers.

Theme: Intercultural at HELP

Name: Free as a Kite
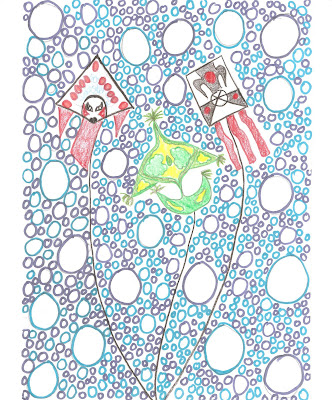


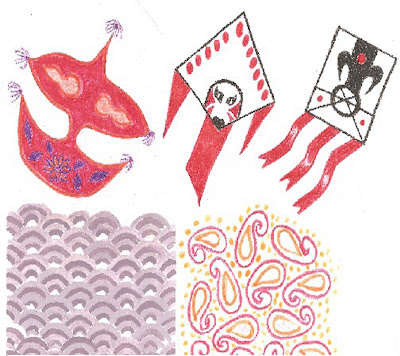
1. After consulting with Mr. Deepak, I decided to add more cultures in the composition. So I added 2 more, Japanese and Indian. There is no distinctive kite type of these two cultures, so what I did was to create a pattern that represents both cultures as the look of the kites.
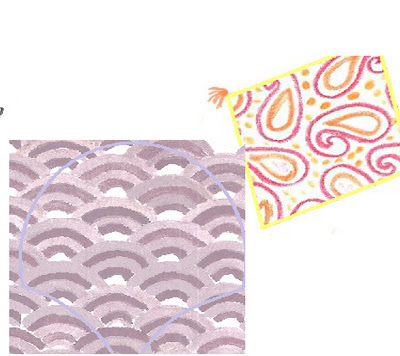
2. I used the software paint to outline the shapes of my kite.
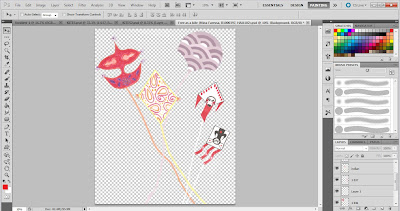


3.I opened a new canvas, 16x20inches with 300 dpi. I then placed each kite on different layers and positioned them a certain way.
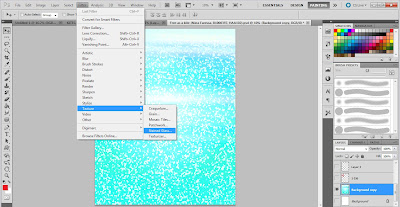


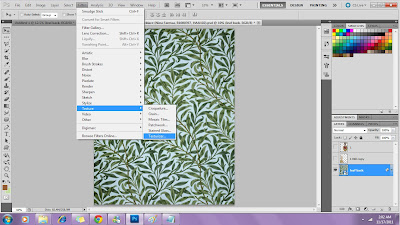
4. For the background I used a gradient effect to create the sky, and I texturized it with a stained glass effect.
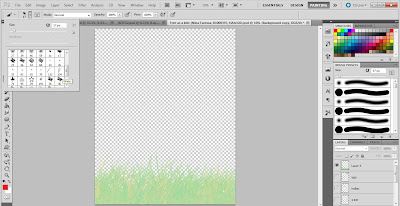


5. Lastly I used the tool brush in shapes of grass.


Sunday, November 20, 2011

Art Visuals Finals (part 2)

Theme: Intercultural at HELP

Name: Headdress


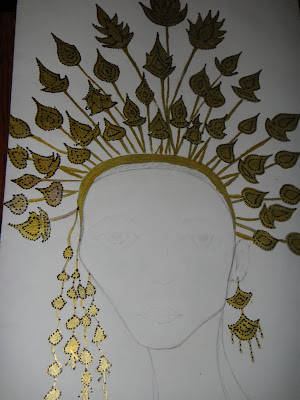
1. Firstly I started with a new canvas, 16x20 inches with 300 dpi. Then I placed my sketches


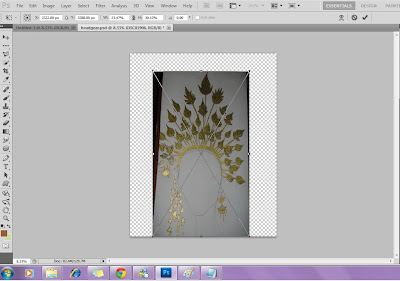
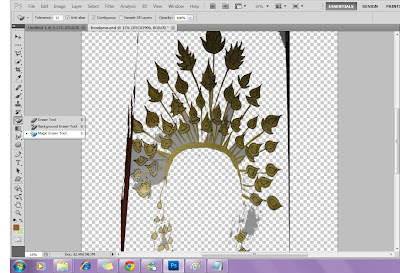
2. By using the Magic Eraser Tool, I deleted the unwanted areas of the sketch.


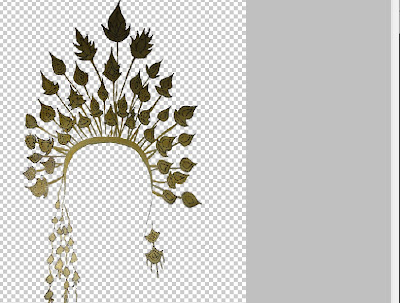
3. What it looks like after.


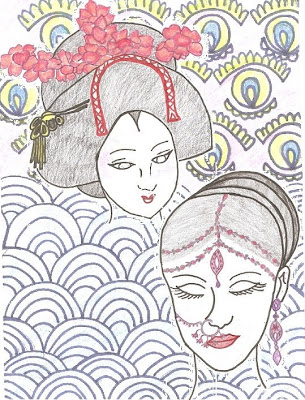
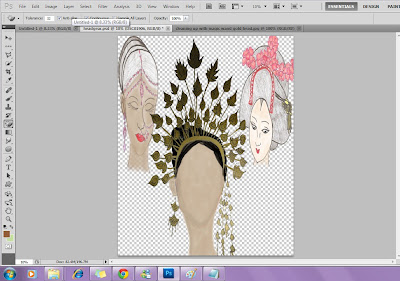
4. I did the same with the other sketch with the two faces and cropped them to have it separated. I placed the sketches by clicking 'Ctrl+t' and positioned them like so and started painting over the faces using the brush tool.


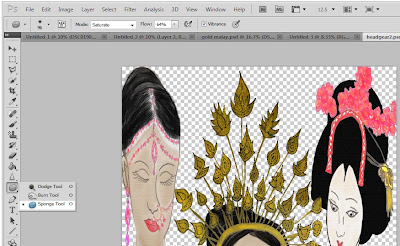
5. I used the Sponge Tool and set it under saturate to increase the level of saturation only on the head pieces.


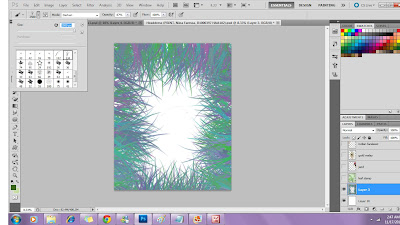
6. For the background I used the Brush Tool #134 and created a border with the intention of having a patterned background in connection with the style of my inspired artist Gustav Klimt.


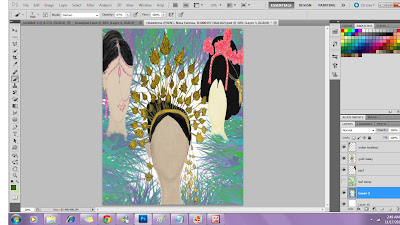
7. I contemplated with the overall look of it and after consulting with Mr. Deepak, he said the lines of the background leaves were too distinct and over powering to my subjects so I decided to change it.


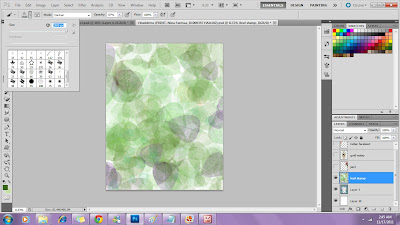
8. Using the same technique, I opted for a more softer background and used the brush tool number #45. The blurryness and undefined lines of the leaves compliments my composition better.


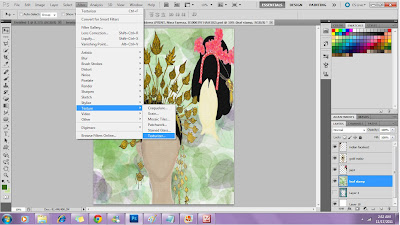
9. Lastly I texturized my composition with a canvas effect.


Art Visuals Finals (part 3)

Theme: Intercultural at HELP

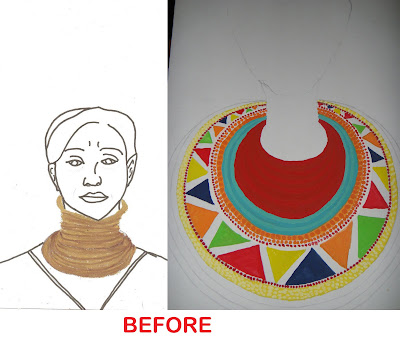
Name: Around my Neck


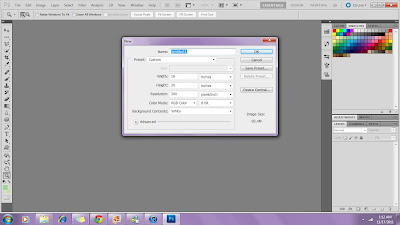
1. I start off with new, the canvas size of 16x20 inches with 300 dpi.


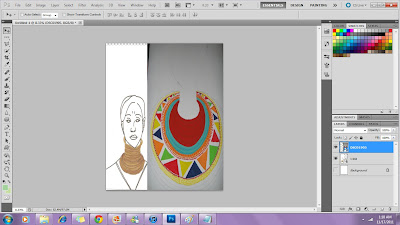
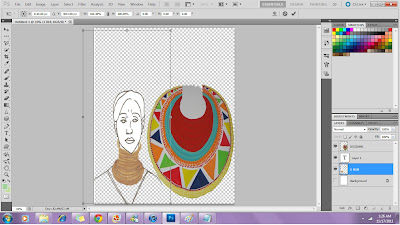
2. I placed my sketches on separate layers and positioned them.


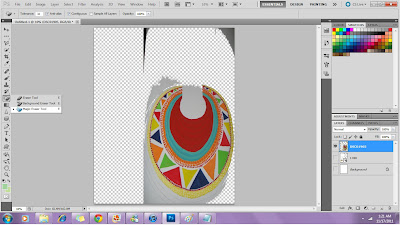
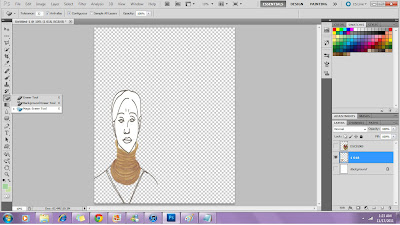
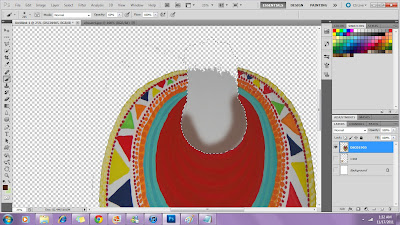
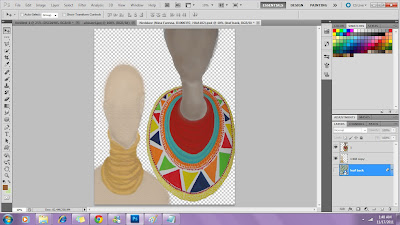
3. I used the magic eraser tool to delete unwanted areas of the sketches.


4. Again using magic eraser tool to remove unwanted areas on my other sketch.


5. I repositioned the sketches by clicking "Ctrl + T"


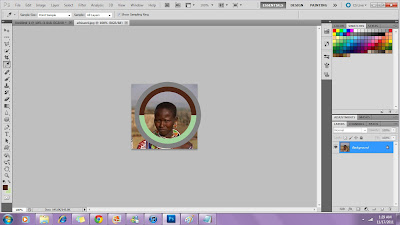
6. To start painting the skin colour of my sketch, I opened a reference picture of my work and used the Eye Dropper Tool to get the right shade.


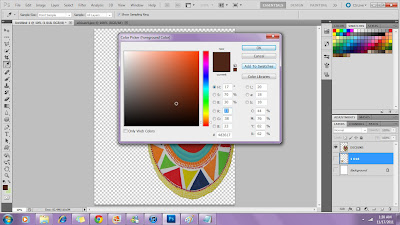
7. I added that colour to swatches so it will be easier for me to reuse it again.


8. To start colouring in the skin, I used the Quick Selection Tool to select just the neck area, so I am able to colour it in without interfering with the necklace.


9. This is how both sketches looks like after I have colored in the faces by using the brush tool with different opacity.


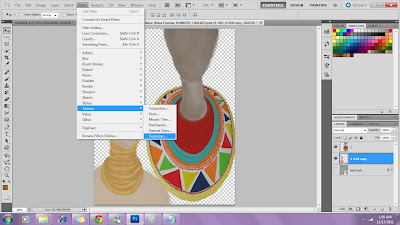
10. I texturized both sketches with a canvas effect.


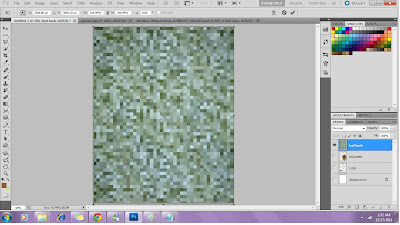
11. For the background, I placed a picture i got from the internet.


12. Finally I texturized the picture with a canvas effect also.